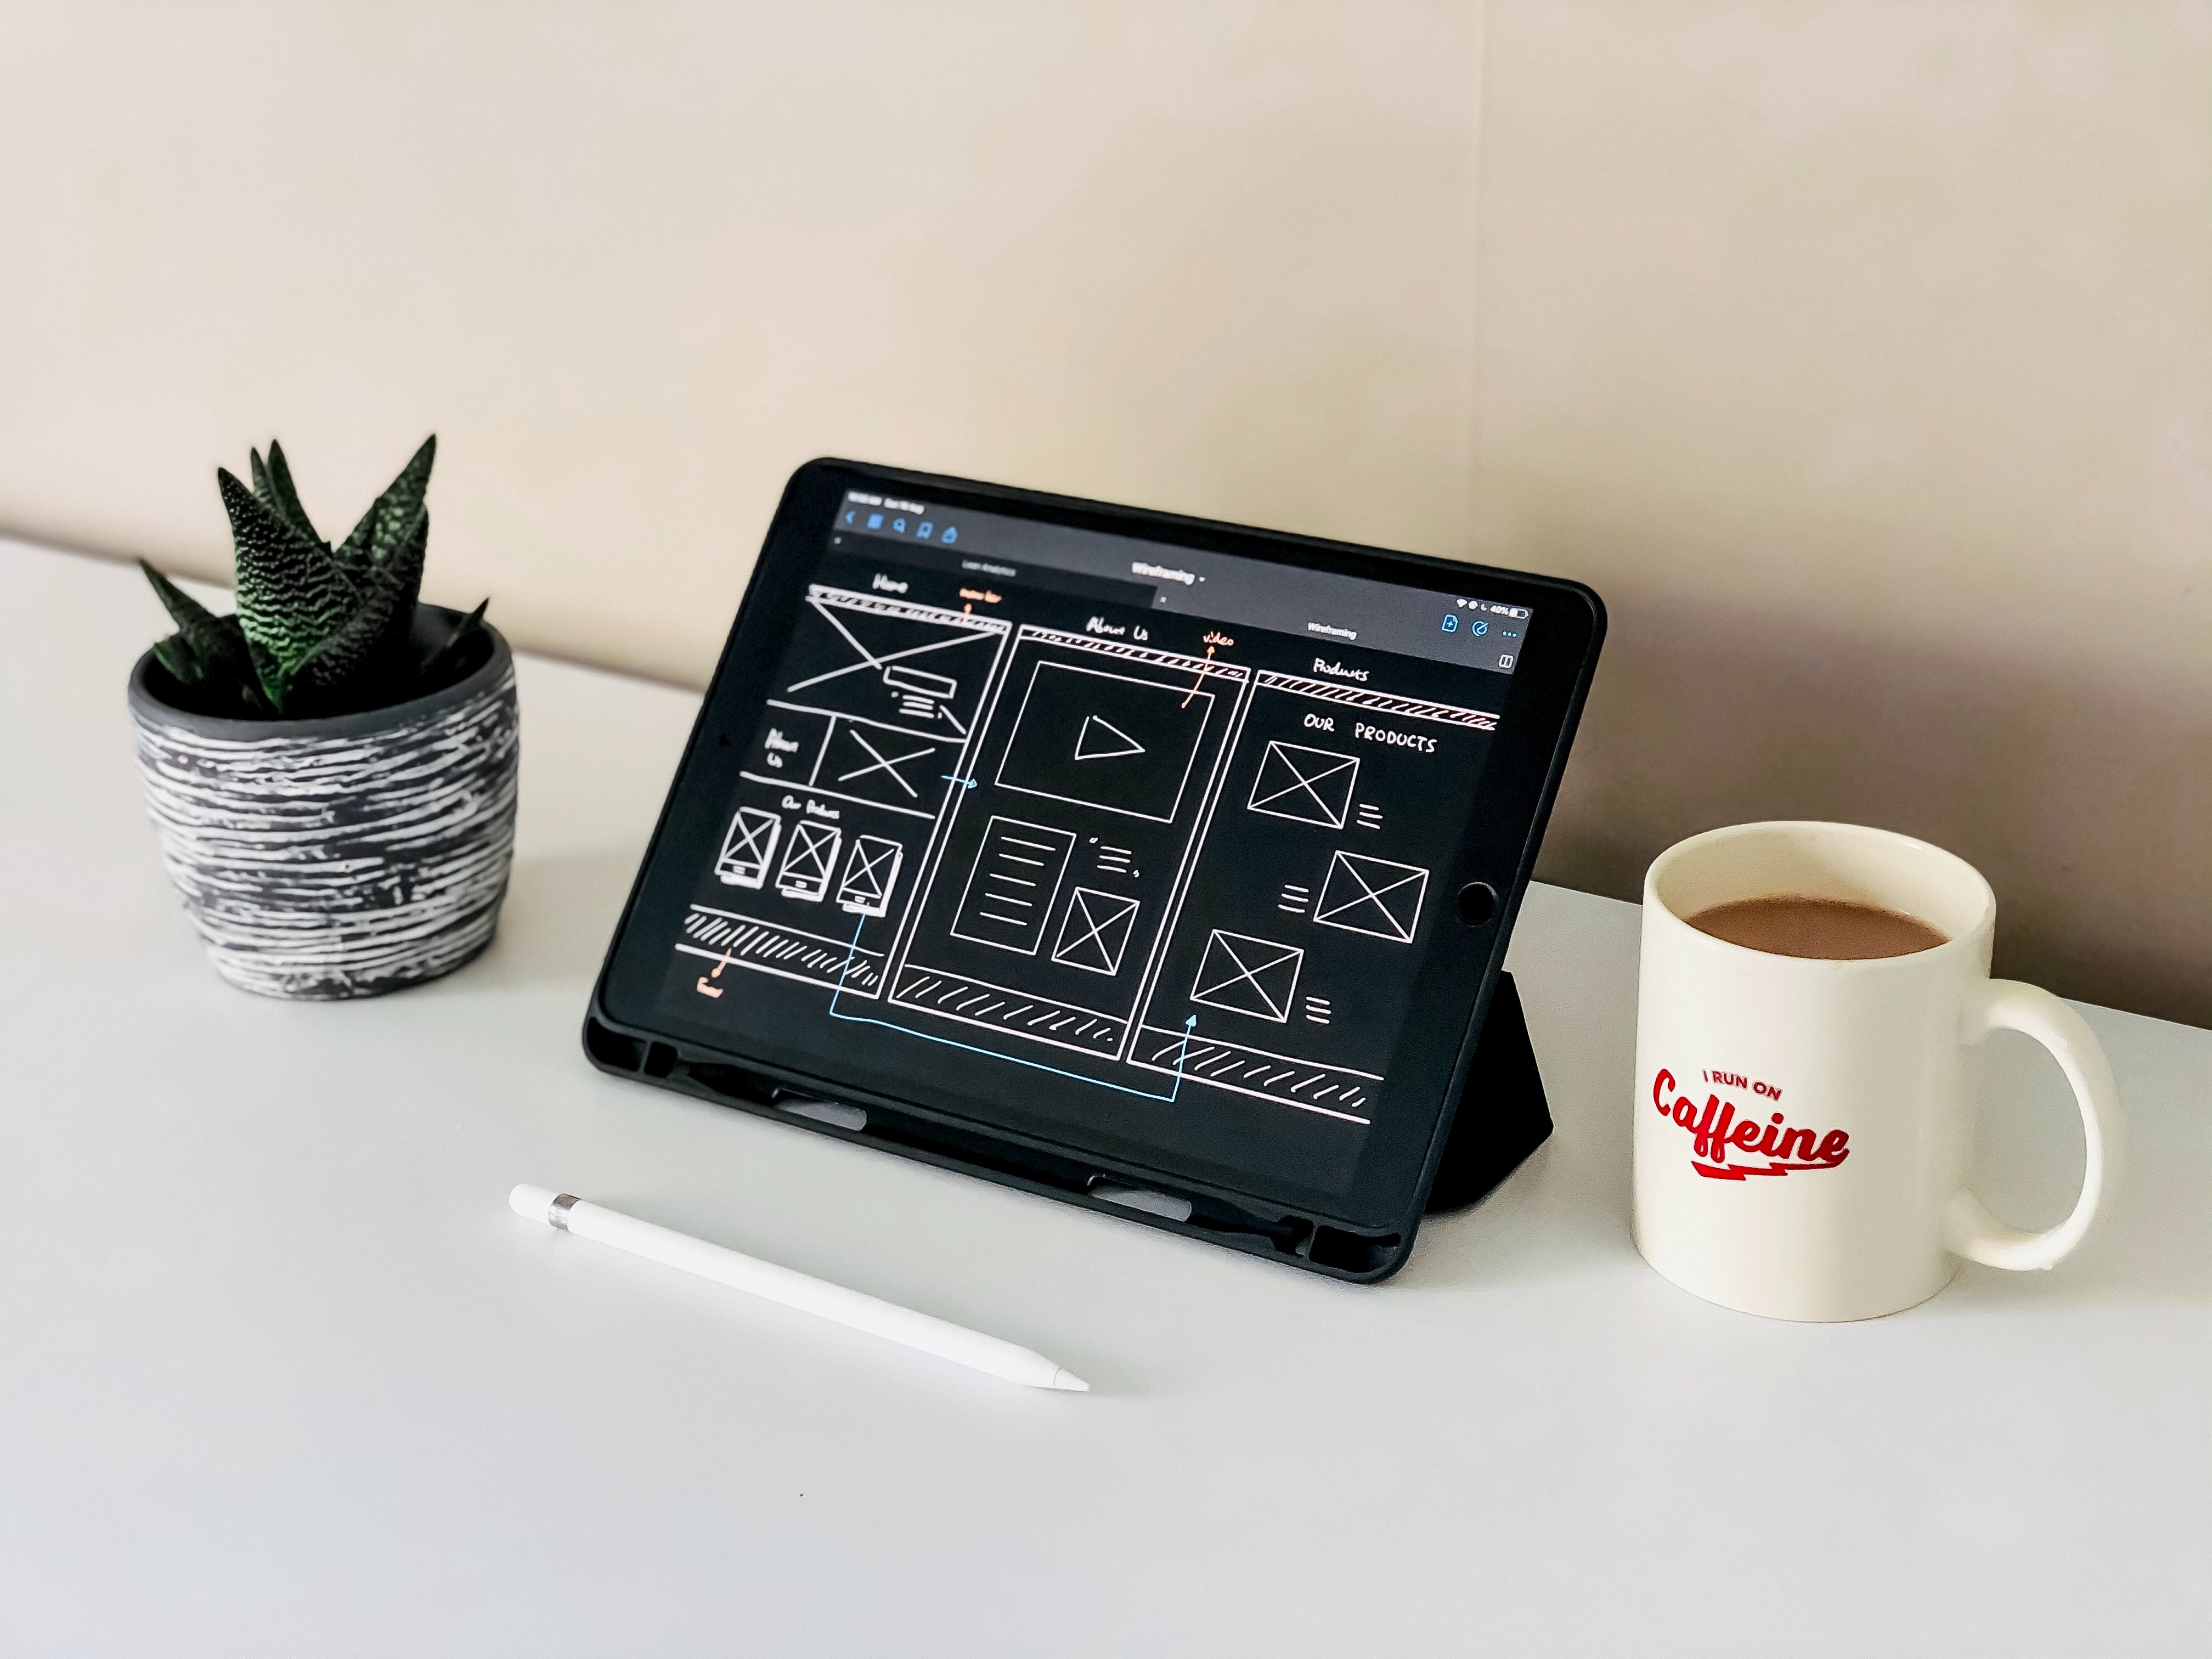
A solid foundation sets the path for a clear direction to the project finish line.
Low-fidelity wireframes allow both researchers and designers to confirm vision and product features without committing too much energy in the wrong direction.
Here are the steps for getting started with wireframes.
#1. Confirm your personas and goal of the tool
First, we should confirm the accuracy of our personas and goal of the tool. It is essential for UX and product stakeholders to meet with you to discuss the personas and goals that serve as requirements for the final product.
At this stage you can inquire not only about the goals of the user but also how those goals align with the business. The alignment of user and business goals will help inform initial understandings of what success could look like once we test how effectively the product was designed.
Personas will help inform the different priorities that arise from sharing one tool as well as desired product features.
Once you are aligned with stakeholders with accurate personas, product goals, and scope of features, you can begin working on the workflow diagrams.
#2. Create initial workflow diagrams
Workflow diagrams can be done digitally or with pen and paper. These diagrams will show how the user begins their entry into the product and what they need to do in order to accomplish a task.
At this phase you can confirm in greater detail with what kind of content should be available at which stage in the user workflow.
Below is a high-level example of one user workflow where they can use the portal to either view or import data.
Note that you’ll want to discover any overlap or contrast of needs between your personas by having workflow diagrams for each user type that could intersect.
At every step of development, it is so important to get feedback and confirmation from your stakeholders. Now you are ready to have your workflow diagrams facilitate discussion to finalize your requirements.
#3. Confirm workflows
Although you may have already confirmed requirements, the workflow diagrams allow you and your stakeholders to have a more clear understanding of the user actions and needs. It is typical for UX, product management, and developers to discuss and align at this stage to see what is required and feasible for the product release timeline.
Once workflows are approved by the stakeholders, it’s time to migrate your diagrams to wireframes.
#4. Draft low-fidelity screens
Now you’re finally going to create your low-fidelity wireframes!
At this phase, although you are welcome to choose between digital or pen and paper to create wireframes, I recommend the final state of your wireframes to be created digitally since it will be easier for consistency and making quick edits after each testing session.
Low-fidelity screens should include the following to be useful for user testing:
- Shapes and placeholders for navigation, clickable elements, page sections
- Text labels for imagery to give an idea what could be there for high fidelity
- Specific call to action language for links/buttons and title headers
- Body copy can be simplified unless there is a specific copy you want to test
In the next step, we’ll need to make the wireframes ready for user testing.
Low-fidelity screens need to be consistent and clear with what they represent so that the testing session goes smoothly with fewer questions to understand what your sketch represents.
Below is one example of a wireframe created in FigJam where the colors suggest what kind of interaction is on the page to avoid any ambiguity from the low-fidelity.
Here is another example of a more detailed low-fidelity wireframe where the buttons and tables are more developed to look more like interactive components than the wireframe example above.
If you are concerned about creating clear wireframes from scratch, it may be worth investing in a premade library, such as Balsamiq, for a clean, consistent look across your wireframes.
#5. Set up user testing with low-fidelity screens
You can use prototyping tools to convert static images into clickable prototypes. Figma is a popular free option, however you can also use Adobe XD or Invision to create low-fidelity prototypes.
Since the wireframes create a high level tangible way for the user to envision their ideal experience, UX professionals can ask questions to inform the high-fidelity version of the screen.
Questions to ask for low-fidelity screens can include:
- Is this where you expected it to be?
- What do you expect to happen here?
- What information do you need in order to accomplish this task?
- Does the CTA make sense?
Low-fidelity wireframes allow UX professionals to test product features before more time is spent on high-fidelity screens that could require an overhaul and push timelines.
Wireframes allow us to confirm requirements, placement of elements and copy without having to open up a design system at such an early stage of development.
When you are ready to develop features for your next big idea, contact research and design services at Key Lime Interactive, so that your product can evolve with a strong foundation.


Comments
Add Comment